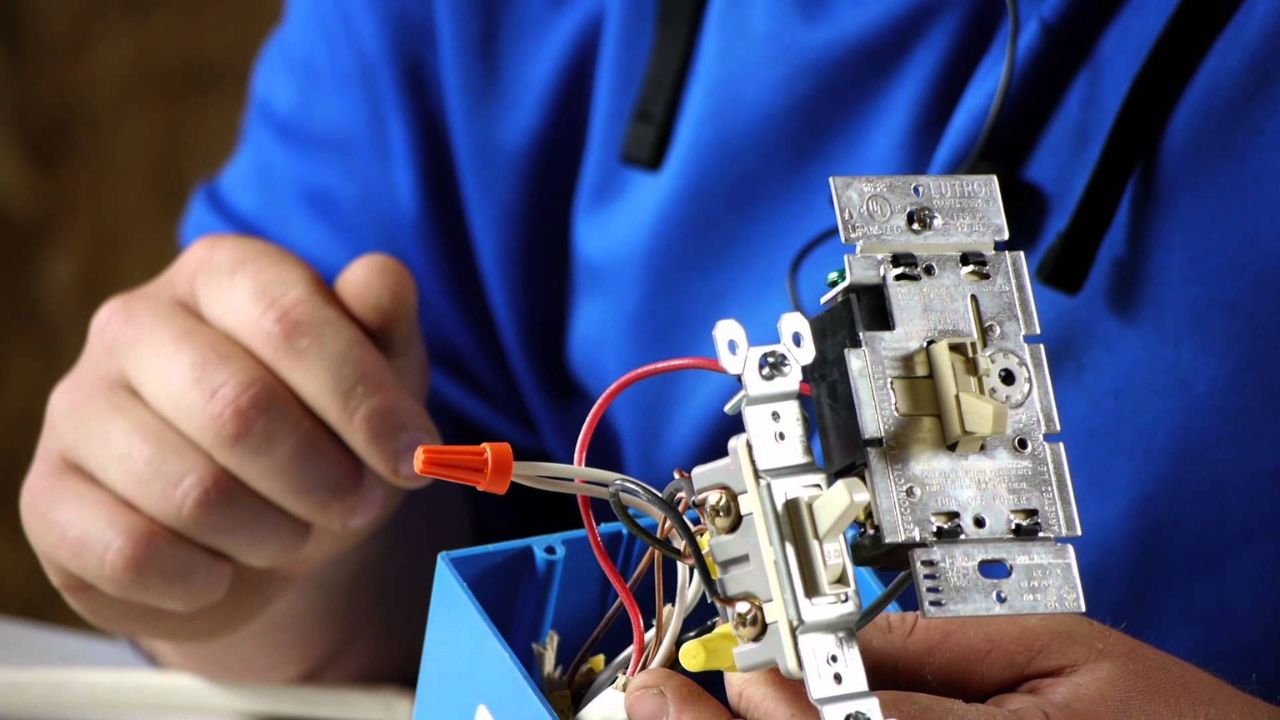
Xprite chase lights are a popular choice among off-road enthusiasts for their durability, brightness, and versatility. However, installing them correctly is crucial to ensure optimal performance and safety. In this guide, we’ll delve into the intricacies of Xprite chase light wiring diagrams, providing you with all the information you need to set up your lighting system like a pro.
Xprite Chase Light
Xprite chase lights are specially designed to enhance visibility and safety during off-road adventures. Whether you’re navigating through rugged terrain or adding flair to your vehicle, these lights offer unparalleled brightness and reliability. To harness their full potential, it’s essential to understand the intricacies of their wiring diagrams.
The Importance of Wiring Diagrams
A wiring diagram serves as a blueprint for connecting various components of a lighting system. It provides valuable insights into the configuration of wires, switches, relays, and other essential elements. By following a well-designed wiring diagram, you can ensure proper installation, minimize errors, and maximize efficiency.
Components of a Chase Light Wiring Diagram
Before diving into the wiring process, let’s familiarize ourselves with the key components of a chase light wiring diagram:
Power Source
The power source supplies electricity to the chase lights. It can be the vehicle’s battery or an auxiliary power outlet, depending on your setup.
Switches
Switches allow you to control the operation of the chase lights. They can range from simple toggle switches to more advanced rocker switches with multiple functions.
Relay
A relay acts as a bridge between the power source and the lights, ensuring safe and efficient operation. It regulates the flow of electricity and prevents overload.
Fuse
A fuse protects the lighting system from electrical faults by interrupting the circuit in case of a short circuit or overload. It’s a critical safety feature that should never be overlooked.
Wiring Harness
The wiring harness serves as the backbone of the lighting system, connecting all the components together. It consists of wires, connectors, and terminals designed to withstand harsh conditions.
Step-by-Step Guide to Wiring Xprite Chase Light

Now that we’re familiar with the components, let’s proceed with the wiring process:
Gather Necessary Tools and Materials
Before starting, gather all the tools and materials required for the installation, including wire cutters, crimping tools, electrical tape, and zip ties.
Identify Power Source
Determine the appropriate power source for your chase lights and ensure it’s capable of supplying the necessary voltage and current.
Install Switches and Relay
Mount the switches in a convenient location within reach of the driver and install the relay near the power source.
Connect Wiring Harness
Follow the wiring diagram to connect the wires from the lights, switches, relay, and fuse holder according to their designated terminals.
Test the System
Once everything is connected, test the system to ensure all lights are functioning correctly and the switches are responsive.
Common Mistakes to Avoid
Overloading the circuit with excessive lighting accessories
Incorrectly connecting wires, leading to short circuits or malfunctioning lights
Neglecting to use proper wire gauges for different components
Tips for Maintenance and Troubleshooting
Regularly inspect the wiring harness for signs of wear or damage
Keep connectors clean and free of debris to ensure optimal conductivity
If encountering issues, refer to the wiring diagram for troubleshooting guidance
Advantages of Using Xprite Chase Light

Superior brightness and visibility in low-light conditions
Durable construction designed to withstand rugged off-road environments
Versatile mounting options for customizable installation
Conclusion
In conclusion, understanding Xprite Chase Light Wiring Diagram is essential for achieving optimal performance and safety. By following the step-by-step guide outlined in this article and avoiding common mistakes, you can ensure a seamless installation process and enjoy the benefits of enhanced visibility during your off-road adventures.
FAQ
Can I install Xprite chase lights on any vehicle?
Xprite Chase Light Wiring Diagram are compatible with most vehicles, but it’s essential to verify compatibility and ensure proper installation.
Do I need any specialized skills to wire Xprite chase lights?
While basic knowledge of automotive electrical systems is helpful, most installations can be completed with simple hand tools and following the provided instructions.
Are Xprite chase lights legal for on-road use?
Regulations regarding auxiliary lighting vary by jurisdiction, so it’s essential to familiarize yourself with local laws before installing and using chase lights on public roads.
How long does it take to install Xprite chase lights?
Installation times can vary depending on factors such as vehicle type, mounting location, and wiring complexity, but most installations can be completed in a few hours with basic tools.
Can I wire Xprite chase lights directly to my vehicle’s battery?
While it’s possible, it’s generally recommended to use a relay and fuse to ensure proper protection and prevent draining the battery when the lights are not in use.


Can you be more specific about the content of your article? After reading it, I still have some doubts. Hope you can help me.
Thank you for your sharing. I am worried that I lack creative ideas. It is your article that makes me full of hope. Thank you. But, I have a question, can you help me?